Wednesday, 31 December 2014

From The Set Up To The Lens

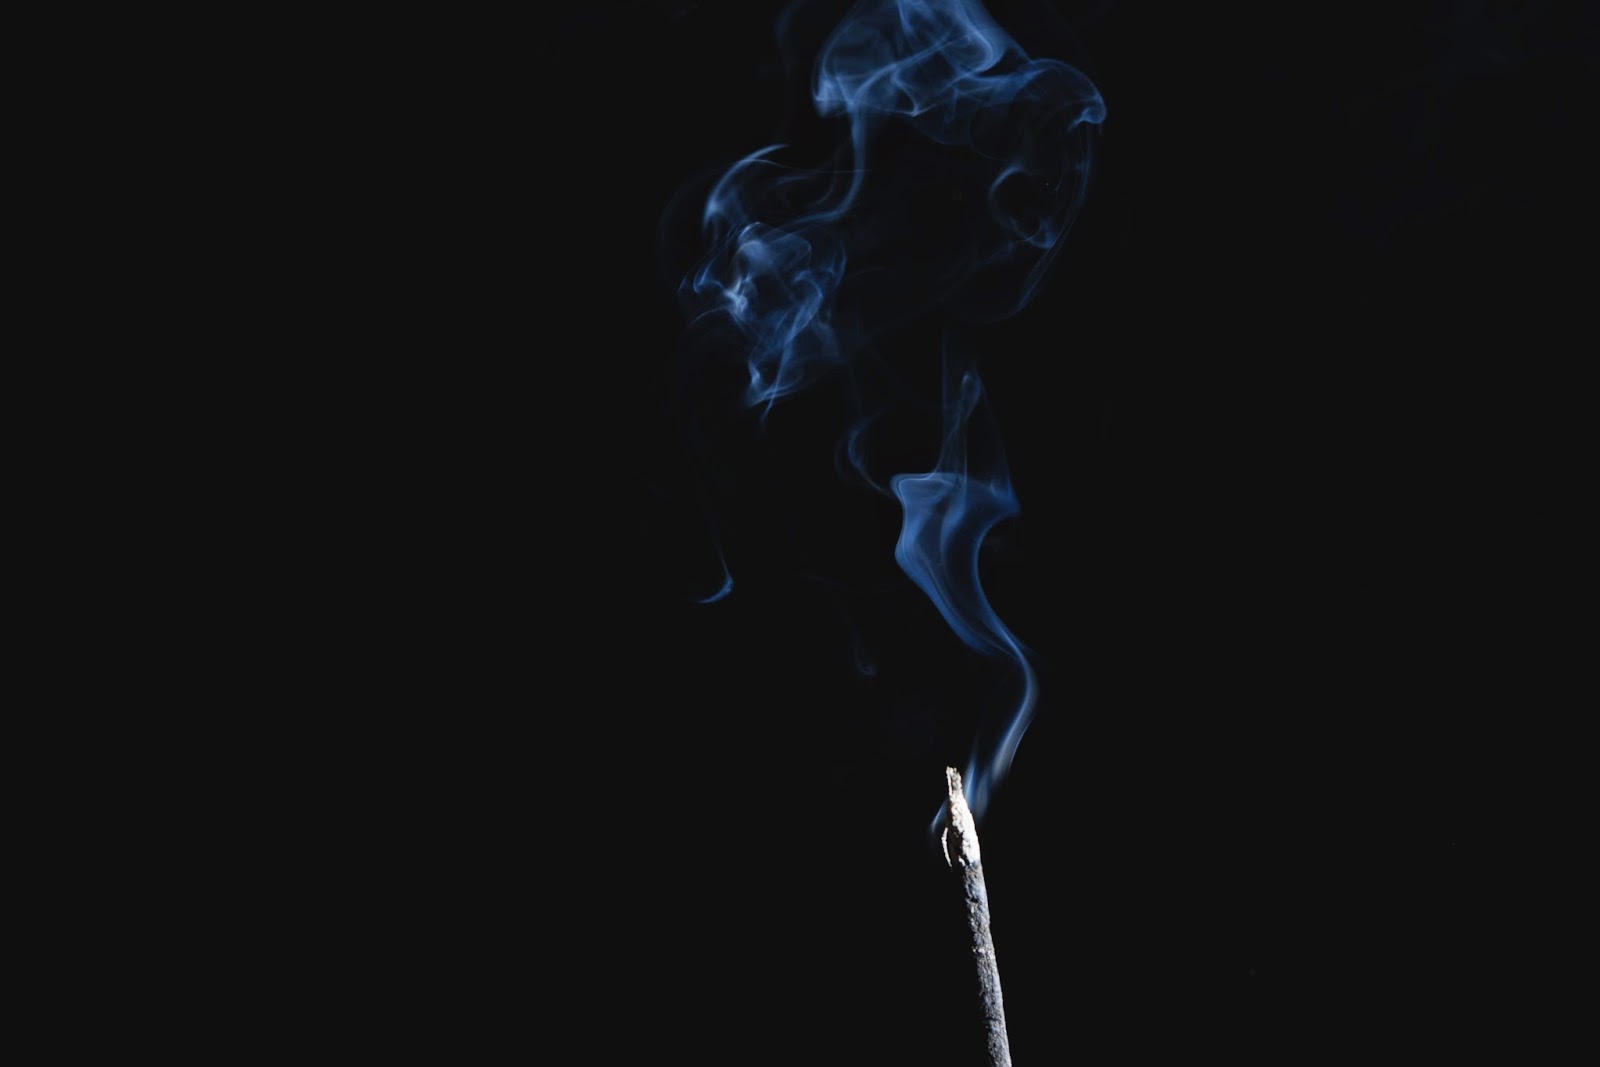
So as you may or may not have seen I did a smoke photo shoot. In this blog I will go through the set up I used to create my smoke photos. First things first, setting up the studio. 
Below shows my basic set up, I pinned some black paper to the wall and some more black paper to the sideboard (to prevent too much light bouncing back). Placing some white card to the side of the flash gun to direct the light in one place.


To set up the smoke I placed an incense stick between a paper clip, balancing it on the top of a bottle and lit it up. 


Next I set up my camera setting, for this shoot my settings were 
1/160
F/9
ISO 100
Once I had picked out my setting I focused my lens and switched my lens to manual (just because I didn't want to keep re-focusing the camera as it wastes time) this kind of shoot usually would work best if you used a tripod, though I shot mine without one. If you don't use a tripod it just means you have to try and not move the camera around too much.


I had noticed that some of my photos gave the smoke a blue tint, this was not edited in and I didn't intend for it t happen. Though I am rather happy with how those photos turned out, my guess was that my camera caught the flash in the photo turning the smoke blue. I'm not sure why it happened but I did notice that every time the camera pointed slightly toward the flash gun the smoke came out blue in the photos.




Tuesday, 30 December 2014

A Blend of Two Colours

So after playing around in Photoshop with one of the smoke photos I came out with this. I kept the history and print-screened the process so you can see the steps I took.  
Most of the changes are brush tool and blending modes but the edit was quick and simple to do :) 


The Smell Of Smoke

 A couple of weeks back I set out to take some photos of smoke (these were a project set by a peer from my photography course). The photos were actually quite easy to set up and once everything starts going into swing it becomes rather fun to do as well. The only problem I had was trying to get the smoke to go in different directions, I used an incense stick to generate the smoke in these photos which is brilliant at constantly releasing smoke but sometimes you get the problem of the smoke just going up in a line. So to make more interesting patterns in the smoke I tried hoovering a piece of paper over the incense stick to let the smoke gather there and then pulled the paper away making the smoke go everywhere. Here are some of my images, I've kept these all unedited as I will do a blog with some edited photos later on.


Monday, 29 December 2014

Retouching Photos


 Recently I have been working on improving my skills on Photoshop, so on of the first things I worked on was retouching photos. Starting with this old photo (This is not a photo I've taken personally, but it looked rather old and tatter which was perfect for what I needed) there are many ways you can go about with editing a photo and taking things out, it takes a lot of time and patience. The main tools I used were the Spot Healing tool and the clone stamp tool, where you use the data and colour information around you to correct little blemishes. Below left is the image before and to the right of that image is the corrections I made to the photo.


Wednesday, 17 December 2014

Old But Gold

So I recently found some old photos that I had taken from the first time I used a make-shift studio (they're from back when I did A-Level in Photography). I remember being quite proud of how well the photos had come out considering I had never used a studio before (it's wasn't really much of a studio, just a tiny cramped room with a backdrop and 2 lights). But still, I was excited but new things and trying new techniques.
Here are some of the photos ...

 This was (and still is) one of my favourite photos that I took that day. I just love the composition, the catch light in the model's eyes and how focus the face is peering through the rip in the Japanese paper umbrella.
 This photo reminded me of the elegance of Japanese women. The model's rather pale face sticks out in comparison to the rest of the photo making her the complete and main focus.

 I had a fixed fascination on the umbrella and bird cage throughout this shoot, I was constantly trying to find a way to incorporate both in the photos.

 With the success of having the model peer through the umbrella I considered all angles to photograph.

 This photo didn't excite me as much as the first one, the umbrella slightly covered the eyes and didn't give as much of a mysterious look as the first photo. I felt as though the umbrella was too low, although on a positive note, the catch light in the eyes was brilliant.

 This was one of the experimental photos, I feel like the photo could have looked better if the umbrella was moved slightly more up so you could see the eyes through the rip staring at the bird cage.
This photo was another experiment with the levels, I wanted to get the umbrella, cage and fan in the photo but my model only has two hands.

Monday, 1 December 2014

Cakes Galore

So throughout this year I have been working along side my Mom baking (and of course taking photos of the finished products). Taking photos of food has never been much of a strong interest to me, I prefer just to quickly get stuck in when I see my food coming. But I like to adventure out of my comfort zone from time to time and try new things. I thought I'd share with you my favourite photos I've taken through my baking adventure.
Question of the day: What's your favourite cake??