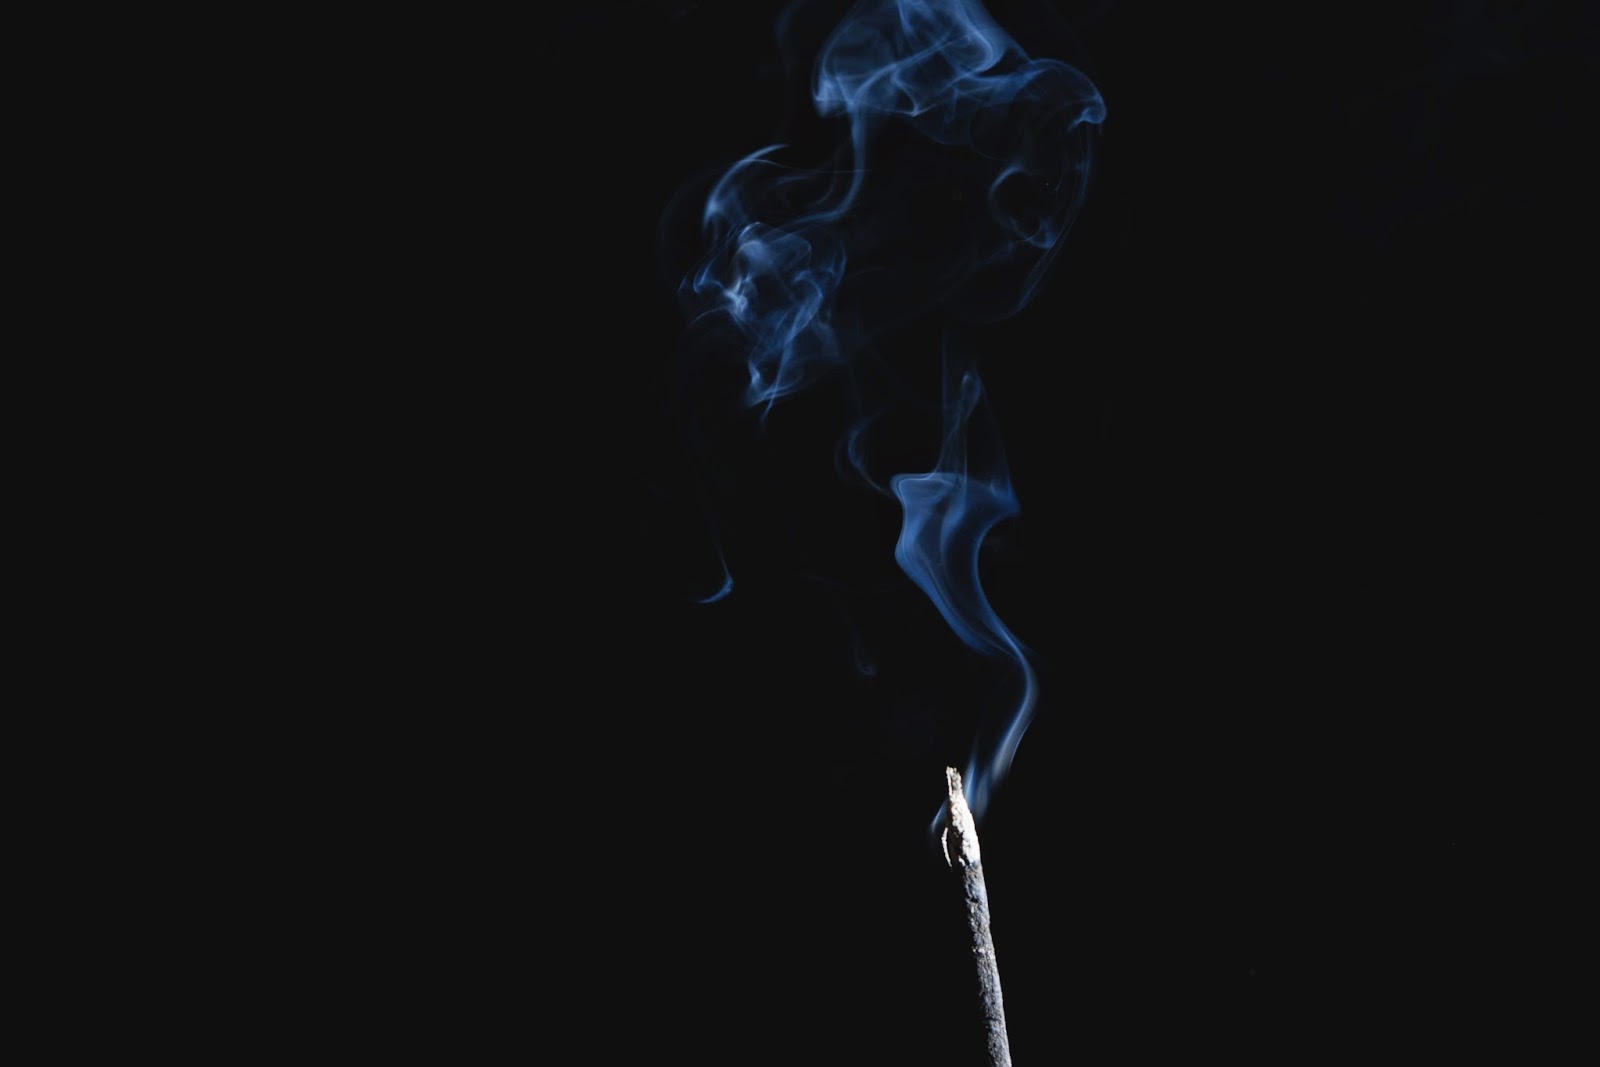
So as you may or may not have seen I did a smoke photo shoot. In this blog I will go through the set up I used to create my smoke photos. First things first, setting up the studio.
Below shows my basic set up, I pinned some black paper to the wall and some more black paper to the sideboard (to prevent too much light bouncing back). Placing some white card to the side of the flash gun to direct the light in one place.
To set up the smoke I placed an incense stick between a paper clip, balancing it on the top of a bottle and lit it up.
Next I set up my camera setting, for this shoot my settings were
1/160
F/9
ISO 100
Once I had picked out my setting I focused my lens and switched my lens to manual (just because I didn't want to keep re-focusing the camera as it wastes time) this kind of shoot usually would work best if you used a tripod, though I shot mine without one. If you don't use a tripod it just means you have to try and not move the camera around too much.
I had noticed that some of my photos gave the smoke a blue tint, this was not edited in and I didn't intend for it t happen. Though I am rather happy with how those photos turned out, my guess was that my camera caught the flash in the photo turning the smoke blue. I'm not sure why it happened but I did notice that every time the camera pointed slightly toward the flash gun the smoke came out blue in the photos.


